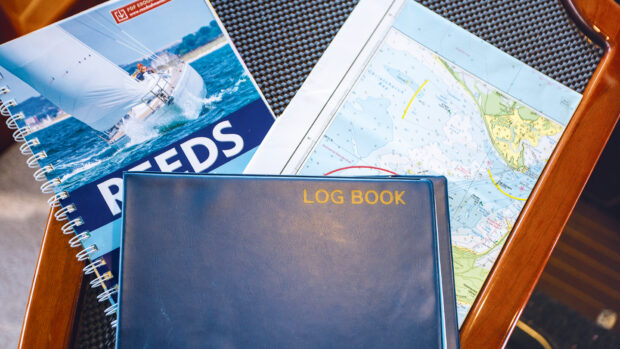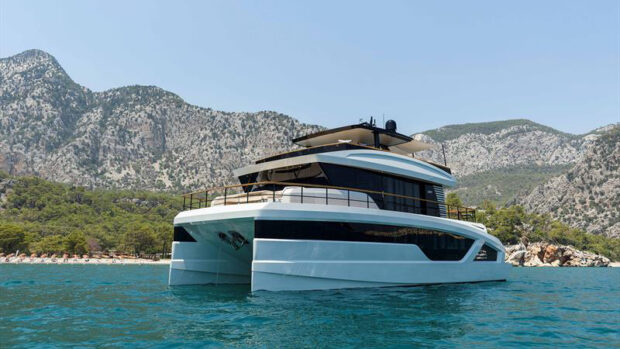


Commercial shipping has been moving away from paper charts and onto a plotter-based system called ECDIS for more than 20 years, and the Admiralty’s recent decision to stop printing charts by 2030 indicates the passage of travel for the leisure world as well.
Many in the leisure world have already moved almost exclusively from paper chart based navigation to GPS plotters known as Multi-Function Displays (MFDs). That’s all well and good provided that you have a reliable means of checking that your plotter is as accurate as it appears to be.
Tidal information is a good case in point; we used to scour the Almanac for the day’s tide and height and then calculate what the difference would be at the secondary port we were heading to.
Nowadays a couple of quick touches on the MFD screen and it will give you a real time height or direction at any given place or time. It’s the same with some smartphone- based apps. But how do you know that all these navigational sources are using accurate data in the first place? One simple way to check is to look at the marina ramp or harbour wall to see how much water there actually is compared to what your screen is telling you.
Article continues below…

How to navigate overfalls in a motorboat: 6 top tips

How to set up your boat fenders correctly
Out at sea, you can check the accuracy of the GPS by looking at the ‘accuracy’ information screen. This will show a number based on HDOP: 1 is great, between 1 and 2 is fine, anything above that needs treating with caution. It’s also worth checking the date of the charting system by looking at the data screen. Another simple way to check it is to pass a known point or navigation mark and see if the view from the window matches what the screen is telling you.
If slightly further away from land you can check it by using the MFD’s range and bearing function to a visible object or headland and comparing that with a physical bearing taken using a hand-bearing compass, the boat’s compass or even a compass app on your phone. If that feels a bit simplistic then take three bearings for a three-point fix. Use the MFD to give you three bearings to objects, then compare your compass result with the MFD’s. It only takes seconds and you have confirmed your position and the accuracy of the system.
Some systems now allow you to draw lines on the screen. This has huge advantages, especially if the weather is poor or it’s night-time, when you can easily become overloaded with navigation and helming duties.
These lines can be used as clearing bearings for a difficult approach or by giving the helm a heading and then marking a safety line on the screen which they must not cross or even drawing the transit you want on the screen as a ‘to follow’ guide. Perhaps their greatest aid is to use a heading sensor to assist with a ‘course to steer’ simply by bringing the double headed ‘course over ground’ arrow to align with the intended heading.
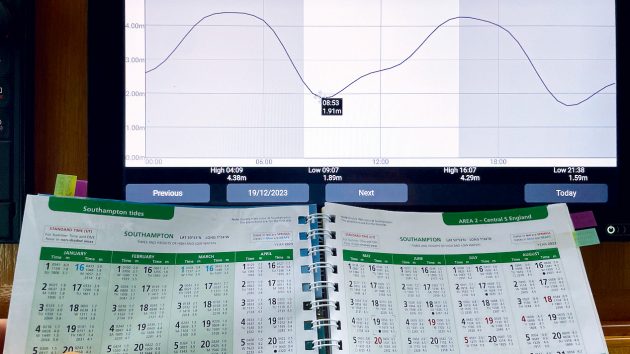
MFD or Almanac?
MFDs are far quicker at sourcing information. For instance, the Almanac only shows tidal heights for main ports like Southampton, so for secondary ports such as Warsash you have to do calculations. The MFD gave me the Warsash tidal station with one click.

Check chart dates
Having up to date charts is vital. These Raymarine Lighthouse charts were created on 20/09/2023 and can be relied upon for all but very recent changes. If your plotter was installed a while back and the charts haven’t been updated, it could jeopardise your safety.

Checking accuracy
An easy way to check your plotter’s accuracy is to click on a visible known object and see what its bearing gives. You can then check this bearing by using a handheld compass.
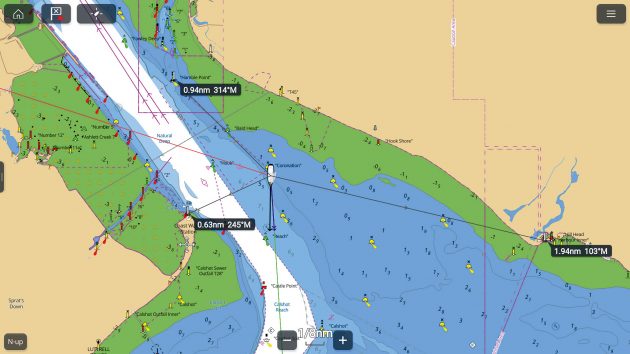
Triple bearing check
If you’re still not sure or want a higher degree of accuracy do three bearing lines on the MFD and check them by hand – almost like a three-point fix but quicker and with no calculations.

Placing lines
Placing lines on the screen for the helmsperson to follow or avoid crossing is very handy. Here I have placed a do-not-cross line in front of the shallows to guide the helm away from this potential danger.
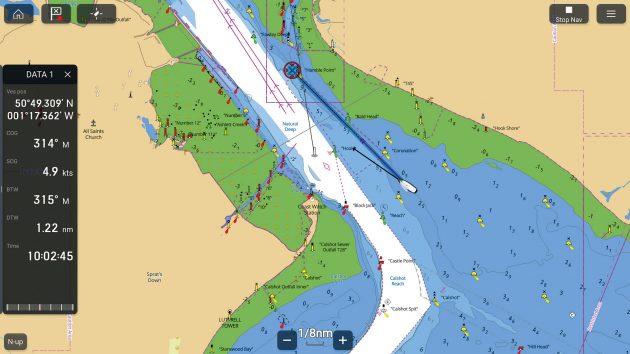
Adding a waypoint
Doing this allows me to improvise a course to steer by keeping the double-headed arrow over the bearing to our waypoint. I’ve also placed a line on the transit we wish to turn in on.